Color, with the weave still visible
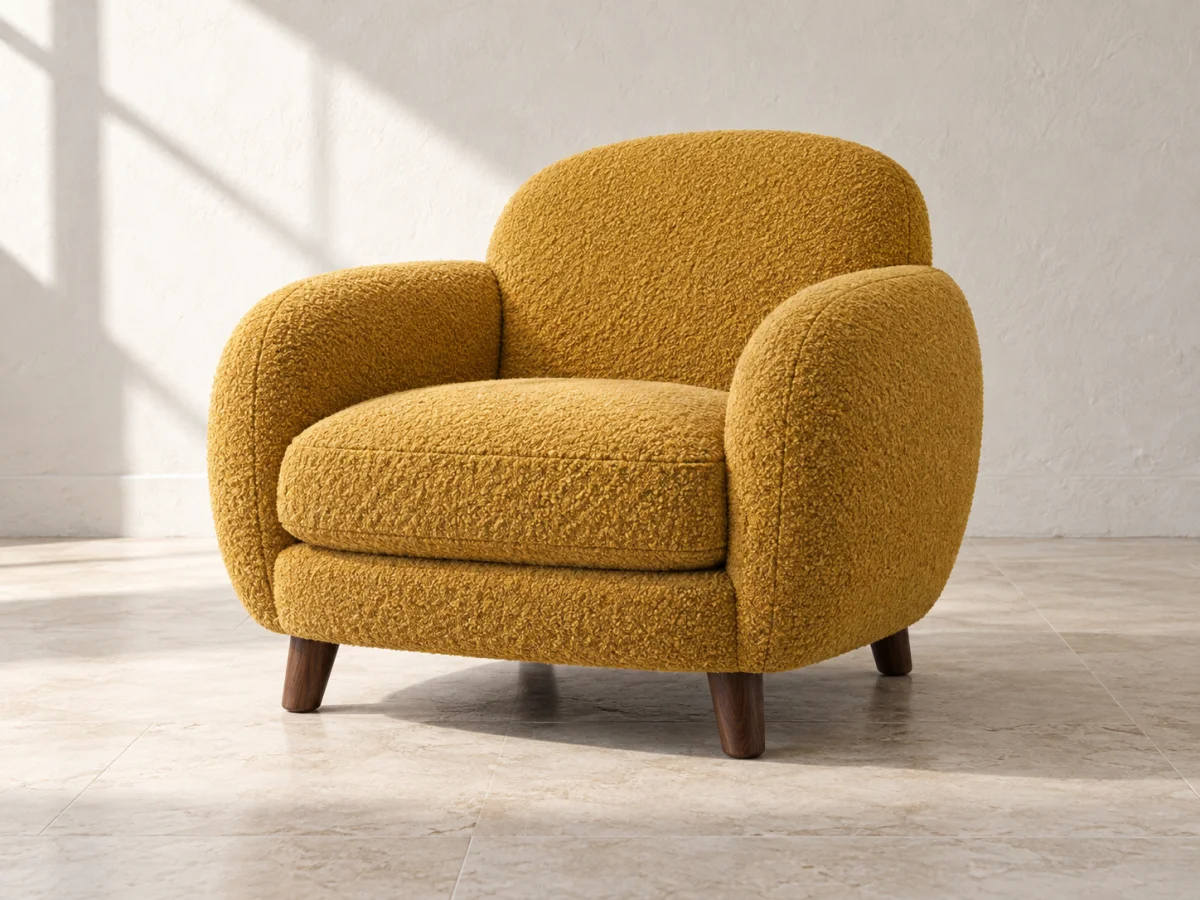
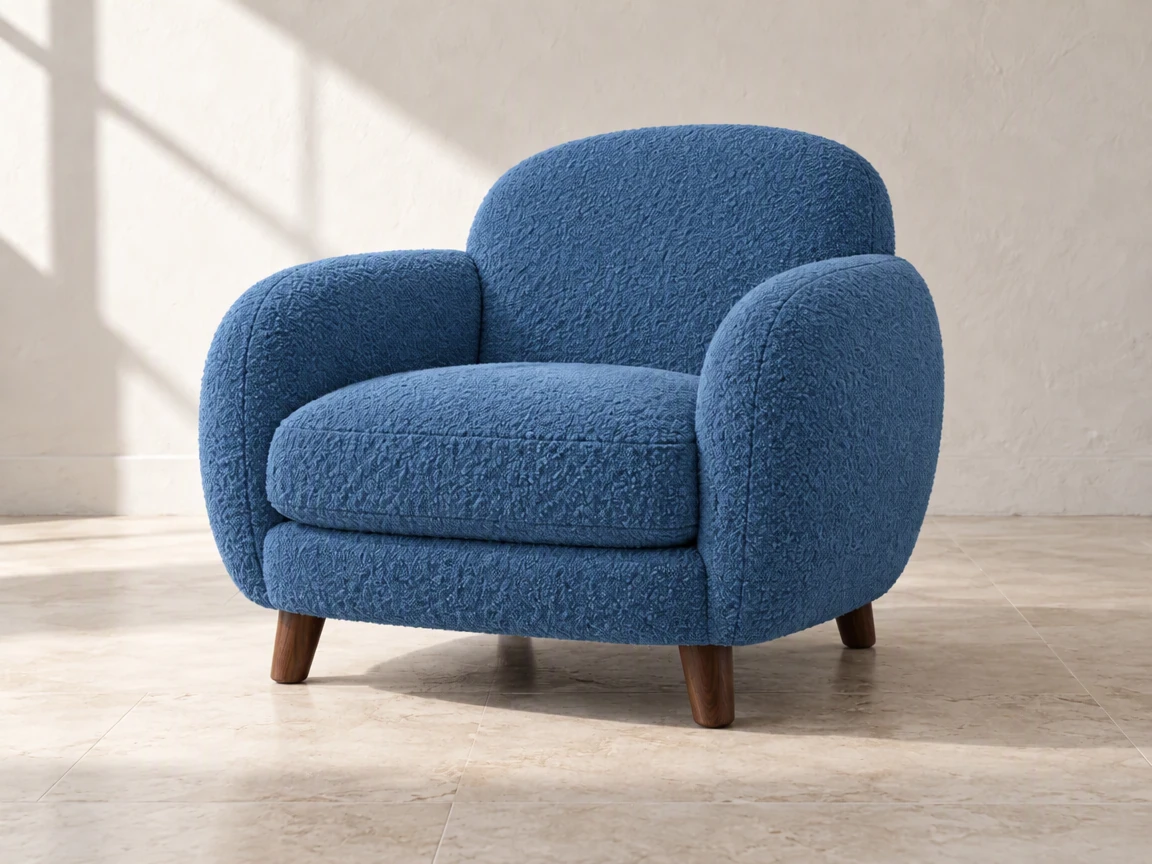
Look for the loops, seams and shaded folds. A convincing color change follows the material rather than covering it with flat paint.
Change the color of an image online with this free image color changer. Brush furniture, clothing or a bag, pick a shade or HEX value, and compare how texture and shadows hold up before you download.
Upload a photo, or use an example on the canvas.
Add a PNG, JPEG or WebP photo, or load one of the examples on this page.
Paint over only the area to recolor, such as a sofa, shirt or bag, then choose a color or enter a HEX value.
Check the cost, generate the edit, then compare texture, folds and shadows with your original before you download.
Compare the same areas before and after. Look at the edit, then check the details you want to keep.
Scenes are AI-generated; results are actual GPT Image 2.5 edits in PicOnTap, without manual retouching. AI may change nearby details, so compare the original before using a result.
Look for the loops, seams and shaded folds. A convincing color change follows the material rather than covering it with flat paint.
Check that the new shade does not spread onto the wooden leg or floor. Compare the contact shadow too.
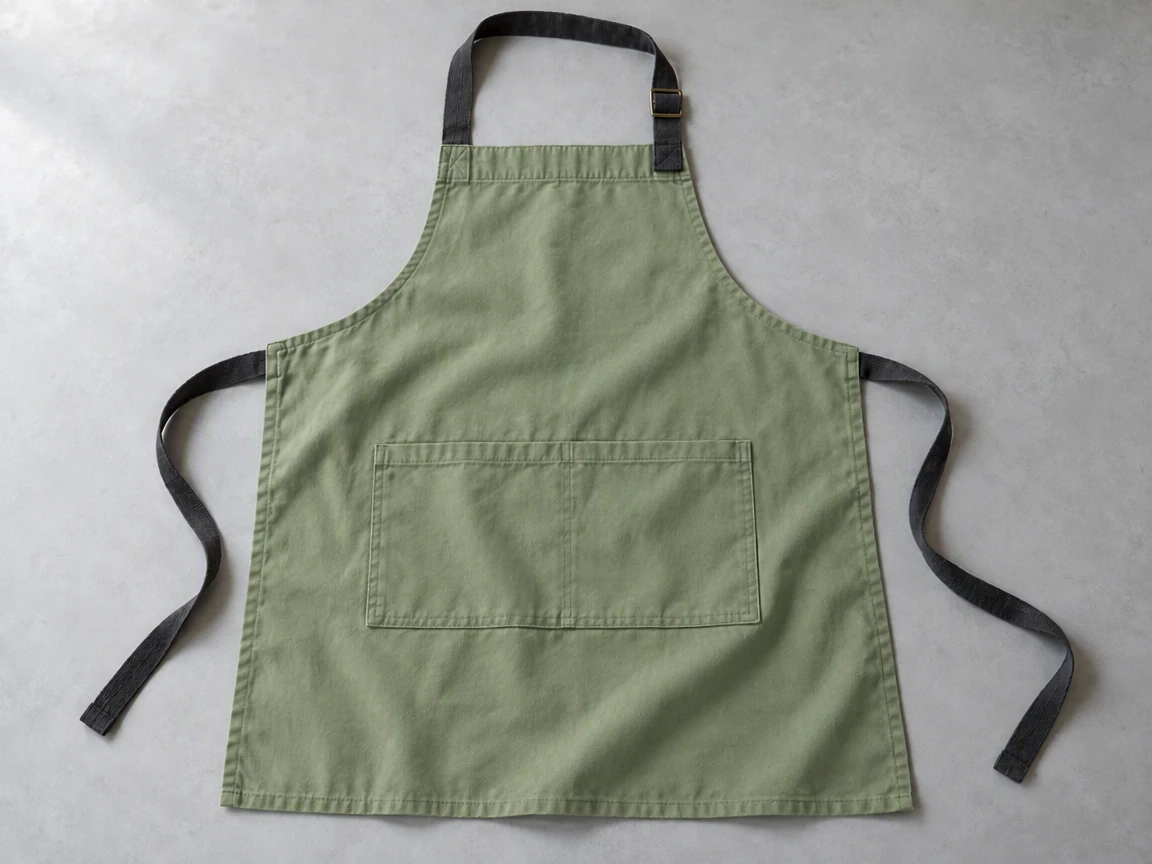 OriginalPicOnTap result
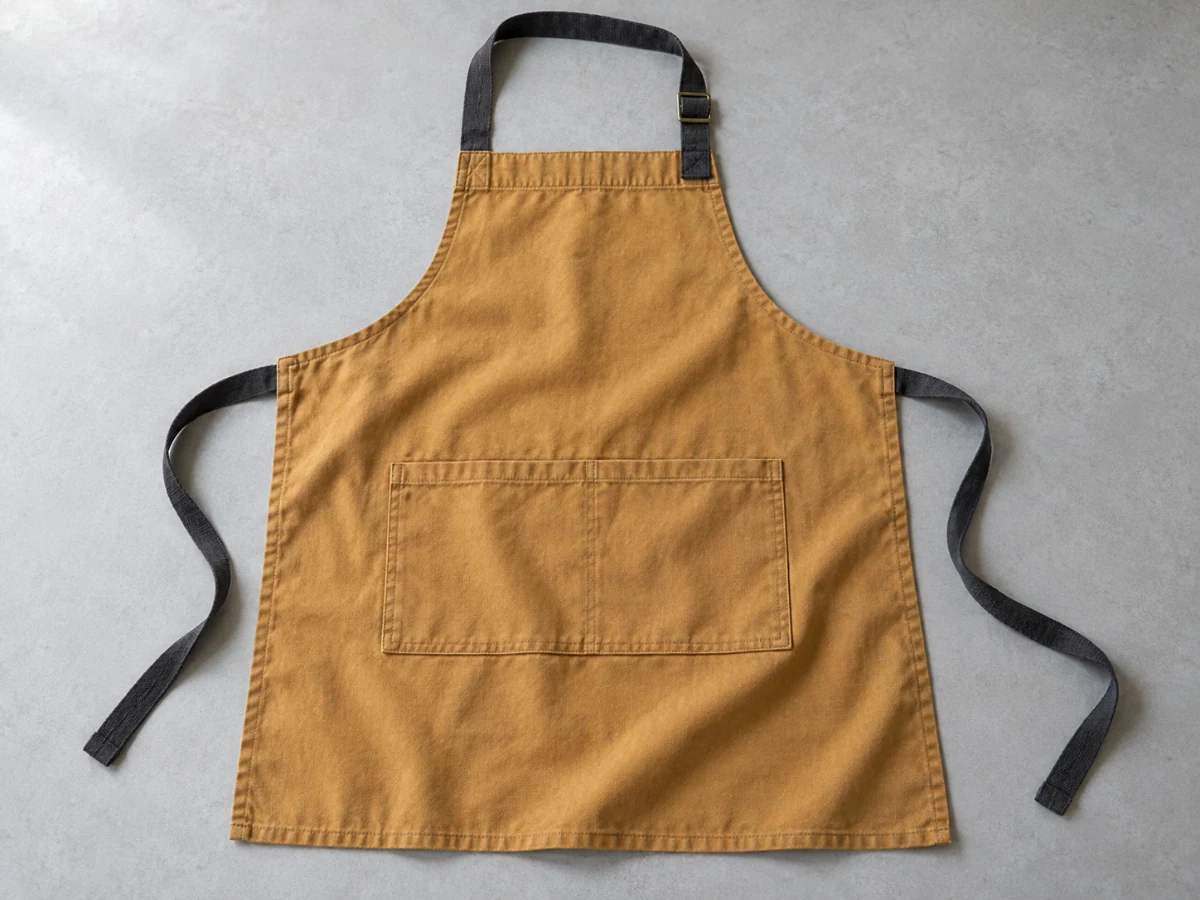
For a new cafe uniform, compare a sage green direction on the same apron. Bring the preferred idea to your team, then choose the actual fabric from physical samples.
Loads the original and suggested settings. Review the cost before generating your own result. Brush over the area you want to edit after loading the image.
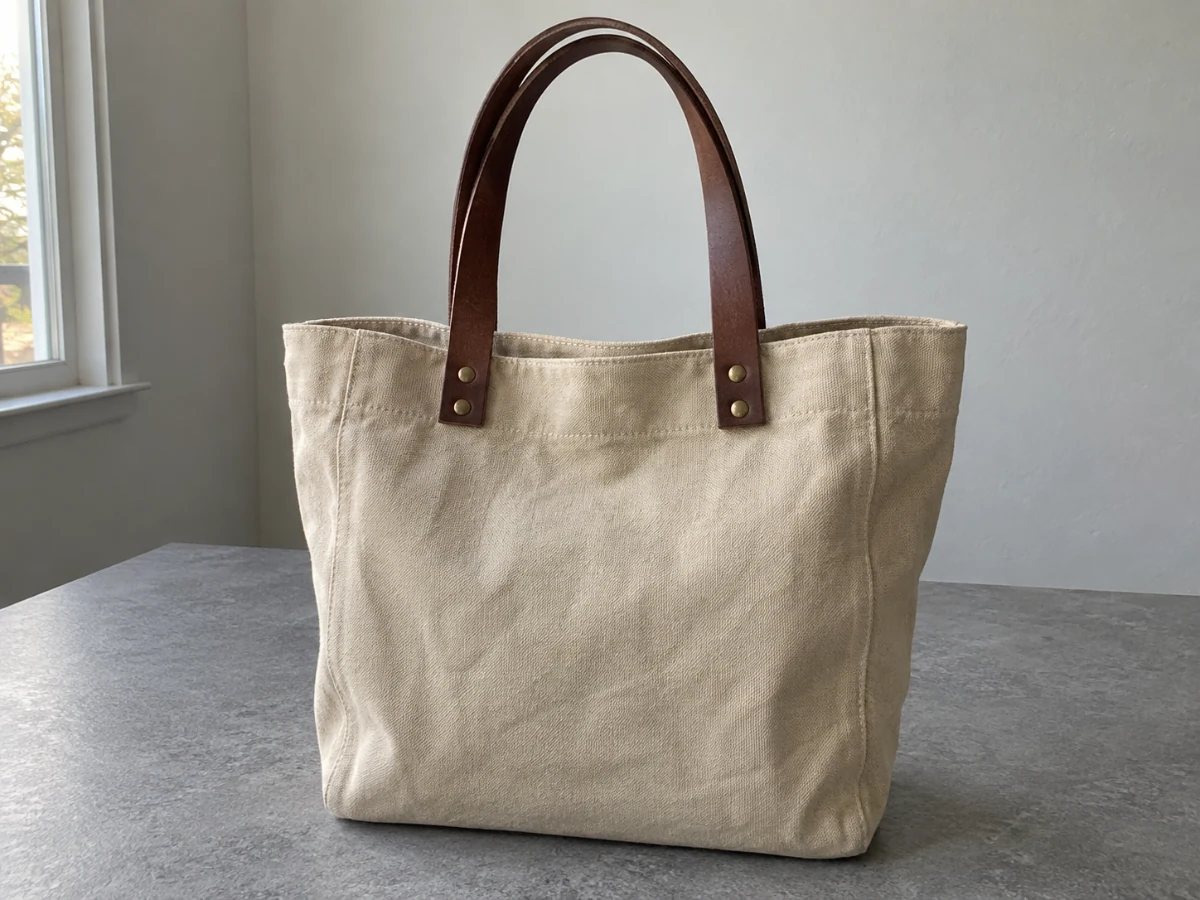
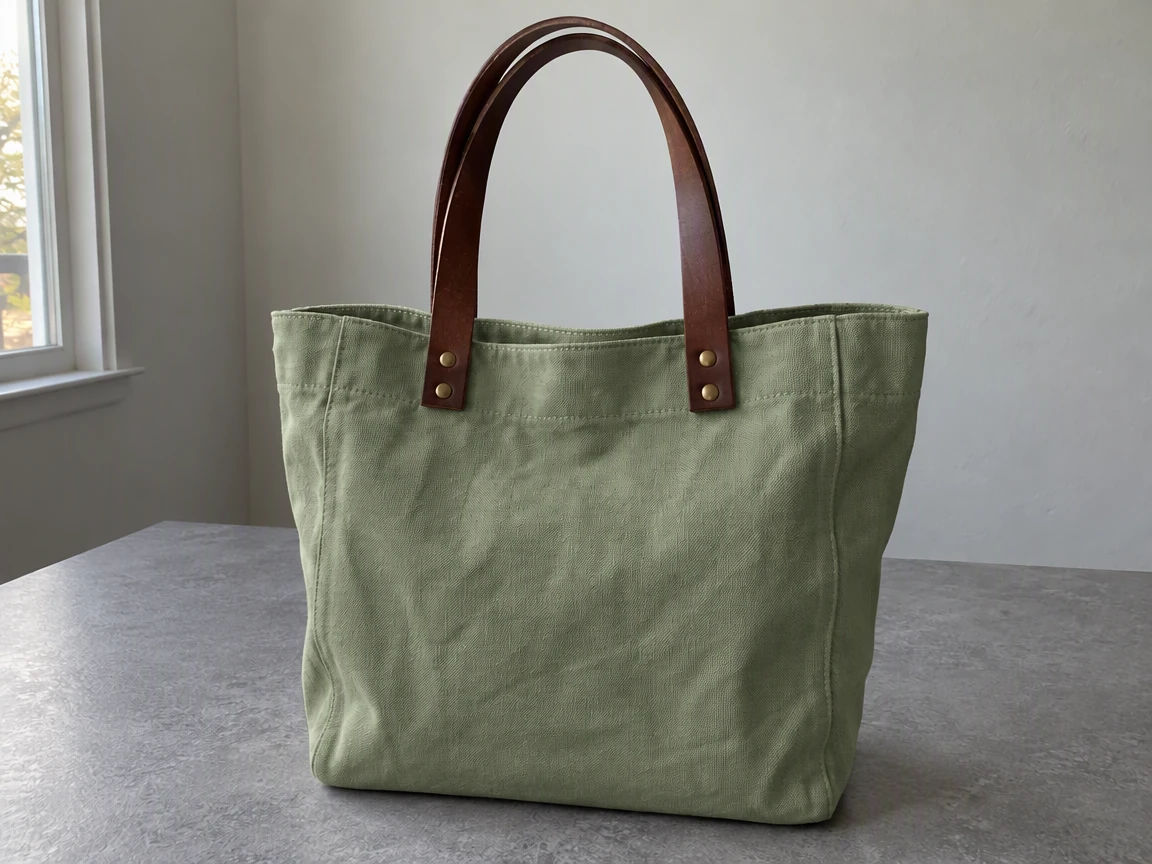 OriginalPicOnTap result
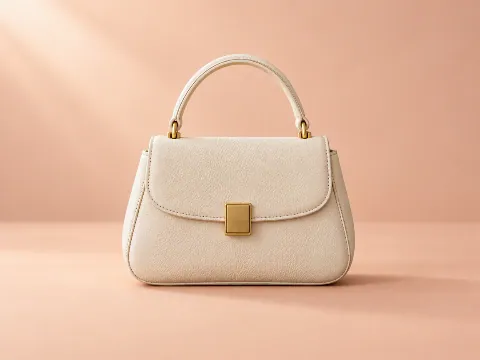
See a new shade on real fabric before committing to an idea. Recolor the canvas body and compare it with the leather handles, stitching and surroundings.
Loads the original and suggested settings. Review the cost before generating your own result. Brush over the area you want to edit after loading the image.
Brush the fabric panel, not the whole object. Keep metal, straps and adjacent surfaces outside the intended selection.
Large changes from black to white can reveal missing texture. A nearby brightness is a useful first color experiment.
HEX is a guide, not a production swatch. Compare highlights, folds and surroundings; use real material samples for a final manufacturing choice.
File size, pixel count, edge length and aspect ratio are separate limits. Use a static PNG, JPEG or WebP; GIF and animated images are not supported by the editor.
Photos that already meet the model's requirements are sent as they are; others may be converted once to a format the model accepts. The result comes back in the model's own format and size, which may differ from your original. Background replacement does not create a transparent cutout. Photo restoration may reconstruct details.
Browsing and loading examples do not spend editing credits. A technical failure returns the credits charged for that attempt; a delivered result you dislike is not a technical failure. Check pending returns in the editor.
Current allowances · Getting started · Writing editing instructions
Yes. The image color changer only recolors the area you mark. Choose a color and optionally describe details to preserve. Example images do not automatically supply a brush selection.
The value guides the edit. Lighting, material and the model affect its appearance. It is not a precise product or print color proof.
The edit aims to preserve them. Compare weave, folds, highlights and edges before downloading; pixel-for-pixel preservation is not guaranteed.
Very dark areas may contain little visible detail. Large brightness changes make reconstruction harder; try a closer shade first.
Yes. Brush only the garment, choose a color and compare folds, seams and highlights. For product listings, check the result against the real item, since the edit is not a color proof.
Use the background tool for that. It replaces the whole background with a solid color or a new scene while keeping the subject in place: Change background of photo
Guests can use available models when they have enough credits. Your allowance and the cost of this edit appear in the editor. Browsing examples, loading an original and adjusting settings do not submit a generation.
Use a static PNG, JPEG or WebP up to 10 MiB. The selected model's file, geometry, aspect-ratio and color requirements are checked before submission. Results retain the provider's supported native format and dimensions.
A technical failure returns the credits charged for that edit; follow the status in the editor. A delivered result you dislike is not a technical failure. Compare the result with the original before downloading. Each new generation is a separate edit with its own cost.
Start with your own photo, or load an example above. Your current draft stays in place.
Back to the editor